Build Mode
This page contains instructions on how to use the build mode in RROx, which contains the following features:
- Build track, groundwork and bridges.
- Build straight sections.
- Build curves.
- View and customize the height of the sections.
Controls
The build mode controls can be opened by pressing the build button.
 This opens up a box where you can pick what you want to build. Click on the X to stop showing the controls.

In the top-left corner of the map, controls are available to start building:
![]()
- Add: The first button will allow you to draw a new segment.
- Edit: The second button will allow you to click on and then edit an existing segment.
- Save: The third button will build all the drawn segments in the game.
When adding or editing a segment, the toolbar will be expanded with the following buttons:
![]()
- Snapping: When enabled, segments will snap to existing track, groundwork, or bridges. Snapping only works for segments that are already built and exist in game.
- Add new points: When enabled, new points can be added to the end of the segment.
- Duplicate (when editing): Duplicate a segment.
Useful when you have drawn the groundwork, and duplicate it, to build the track on top. - Show heightmap (when editing): View and adjust the height of each segment point.
- Delete: Delete the currently selected segment.
- Submit: Submit the segment and stop editing. The segment will be built when pressing save.
Drawing
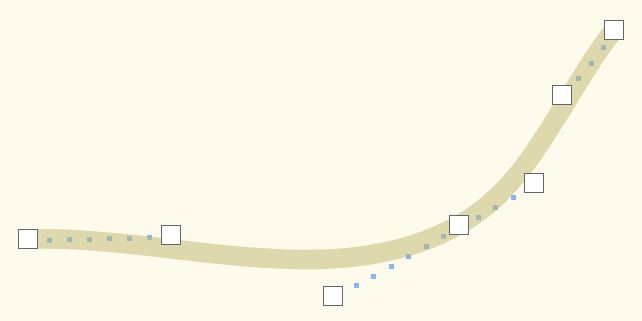
Drawing on the map is done using several markers, that can be dragged around to modify the path. Double click on a marker to toggle it between straight mode and curved mode. It is recommended to use curved markers for anything other than perfectly straight track.
Heightmap
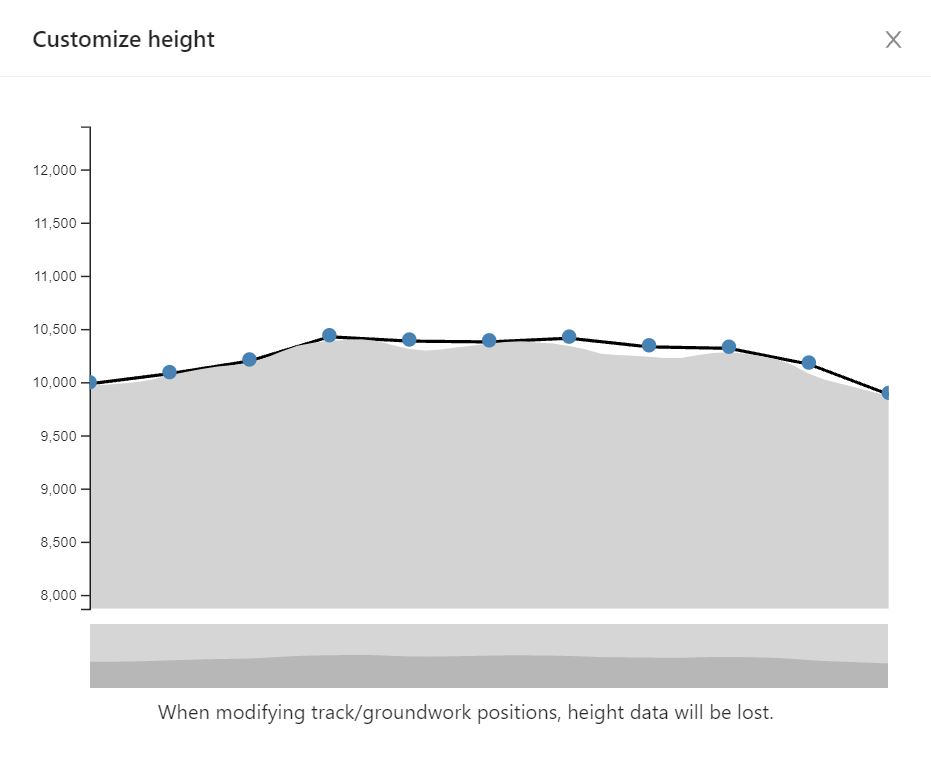
Using the heightmap, it is possible to see the terrain height and modify the segment height accordingly. Within the heightmap, you can zoom in and out using the scrollwheel, or by selecting an area in the bar at the bottom.